For this week’s project, I decided to turn an old wireless USB number pad into a foot controller for Ableton Live. Here’s what I started with:
I was partially inspired to take on this project after seeing this thread on Create Digital Music last year:
Sexy DIY Footswitch for Music, Using the Brain of a USB QWERTY Keyboard
I’ve played with the idea of re-using USB devices as Ableton Live controllers in the past; check out my custom USB QWERTY keyboard as an example. This time around, I thought I’d take advantage of the wireless connection of the number pad and also do some proper soldering and re-housing to make this project even cooler. As a result, this is part one of this project. I hope to have part 2 completed in a few weeks (I have a special 2-part “52 things” set of projects coming up that will delay it a bit).
My eventual plan is that this will become a thin 4-button controller for Ableton Live; something that can sit right in front of my Line 6 Pod XT Live guitar interface. I am toying around with the idea of using the NUM LOCK key to create the ability to have 2 banks of buttons in one, but that will get explored in the prototyping stage.
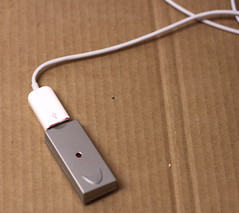
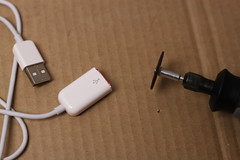
I began by looking at what I was working with. As it turns out, the wireless USB receiver for the number pad is too bulky to allow another USB device to be plugged into the laptop at the same time, so I decided to hack an old Apple USB keyboard extension so it would work.
The Apple USB keyboard extenders have a little nub inside them to prevent them being used for anything besides a keyboard, but a little work with the Dremel cutoff wheel and a pair of pliers got rid of the extra plastic and the nub.
Now the receiver fits just fine on the end of it.

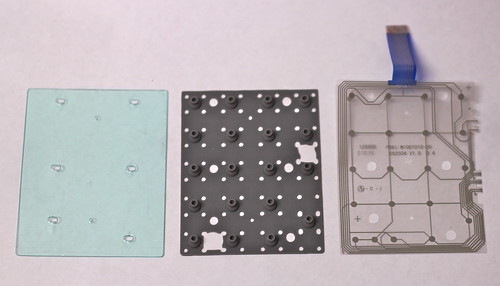
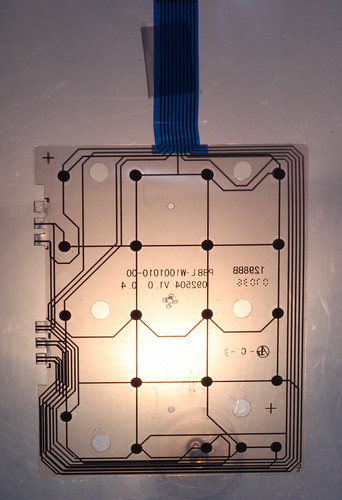
After getting that squared away, I began disassembling the keypad. Here are some photos from that process; you can check out the complete set of disassembly photos on Flickr.
I’m planning on housing it in a custom steel stud enclosure, as shown on this site:
Steel Studs and the $0.25 Effect Enclosure
That’s all for this week. As mentioned, the remainder of this project will be delayed a bit, as I’m going to be doing a special 2-part set of 52 things projects for weeks 12 and 13.


oh cool.
i did the exact same thing a few years back and it works great!
…until you click on a parameter in Live (like in the mixer or an effect) and forget to click off of it onto nothing. then you use the pedal and realize that you have entered “1111113335…” into someplace that you really didn’t want it to go.
i started to write an HID patch in max for it so that it would recognize it as something else other than a number pad but never got around to finishing it. maybe with max for live out now i finally will.