Archive for the ‘photography’ Category
23/52: Running Photos
This week’s post was a first for me. I’ve been slowly working on improving and expanding my photography knowledge and skills, and this was the first time I’ve asked someone to specifically model for me. My friend and co-worker Cam, an amazing teacher and runner, agreed to be my subject for this shoot.
For this shoot, I took a basic lighting case, containing 3 flashes and my radio trigger system, plus a couple of odds and ends (a roll of gaff tape, a clamp, my DIY softbox, etc).
Along with the lighting case, I also took a couple of my mic stands. I made converters for them to allow me to use them as tripods/light stands (see my DIY photo gear post), and they work great for situations like this since they have a boom arm.
Since Cam is a runner and nature enthusiast, I wanted to put him in a setting that would reflect that. Here’s the setup for one of the looks (a portrait with the woods & sky in the background). I ended up using one Vivitar 285 flash, and one Vivitar 283 flash for these. I experimented with using a softbox on the 283 at times, but left the 285 as a bare flash.
Here are a few of the resulting shots:
We also went into the woods for a different feel. Here’s one setup, designed to capture Cam mid-stride in the woods.
The finished product:
22/52: Macro Lens & Photos
This week’s project didn’t quite turn out the way I had hoped, and it’s a bit late being posted, but here it is: a set of macro photos from a friend’s Yashica 55mm Macro ML lens.
I bought an adapter ring to go from C/Y (Contax/Yashica) to EOS (Canon’s modern lens mount), which allowed me to mount this manual focus lens on my Canon T1i. Here’s a picture of the rear of the lens with the adapter ring.
When I first started investigating the possibility of mounting manual lenses, I started out reading the EOS Cameras and Manual Lenses group’s discussions on Flickr. One recurring issue with using manual-focus lenses was ensuring that the image is in focus, which a modern auto-focus lens does automatically. Using an adapter ring with an auto-focus confirm chip allows the camera to communicate with the lens and provide confirmation that it’s in focus.
Therefore, the first thing I’d bought was an auto-focus confirm chip, purchased from an eBay seller in Hong Kong. I mis-read the chip’s description, thinking it was an adapter ring WITH an auto-focus confirm chip, when instead it was JUST the chip itself.
After that, I bought a simple C/Y to EOS adapter ring, after being assured that it would be a simple thing to mount my mistakenly-bought chip on this ring. Turns out, it’s not so simple. Here’s a comparison of my 50mm Canon lens (left) and the 55mm Yashica lens:
As far as I can tell, the AF confirm chip would need to be mounted at a spot on the Yashica lens where the shutter trip lever sticks out. Initial attempts to place the chip were unsuccessful, so I decided to shelve the idea and try using the lens with manual focus instead.
Here are a couple of photos of a wooden bench. The lens was set to f/2.8 (the largest aperture available), and you can see the shallow depth of field that’s possible, especially on the second shot.
However, it’s quite easy to take shots that are almost in focus, but not quite. These two both looked good through the viewfinder, but upon review are not quite tack-sharp.
I did end up with a few shots I liked a lot, after much trial and error. It turns out the Canon’s auto-metering is about 2 stops off, making me dial in a -2 stop exposure when using Program mode. I shot mostly on Manual after a while, doing critical metering and shutter adjustments on the fly and checking the results on the camera’s LCD screen.
All in all, a good learning experience, even though things didn’t turn out quite as expected.
21/52: Ann Arbor-Rochester travelogue, part 2
In Part 1 of my Ann Arbor-Rochester travelogue, I described my trip last weekend to Rochester, NY, for the 2010 Technology of Applied Photography and Imaging workshop. This is the second of two parts, describing my experience there.
Day 2 of the workshop was Saturday, and it started off with Andrew Davidhazy talking about high-speed photography. Here’s a shot of him looking a bit mad-scientist as he sets up one of the shots:
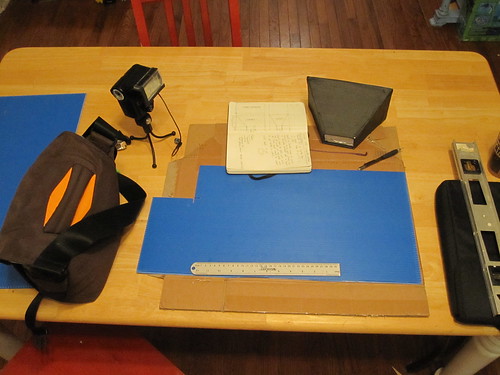
Andrew is known for his high-speed photography work. In the shots below, he showed us how he accomplishes some of the shots he’s famous for. The balloon-pop photo was done with an external flash, set to its lowest power (and thus its shortest flash duration) in a completely dark room. The flash gets triggered by a microphone, which sends out a trigger voltage when the balloon loudly pops.

I snagged this shot on the first balloon pop attempt!
In the afternoon, we were treated to a 90-minute tour-de-force of color theory with Glenn Miller.
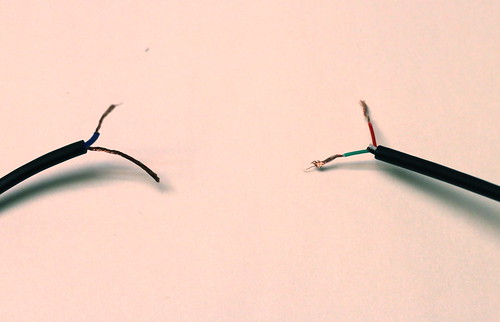
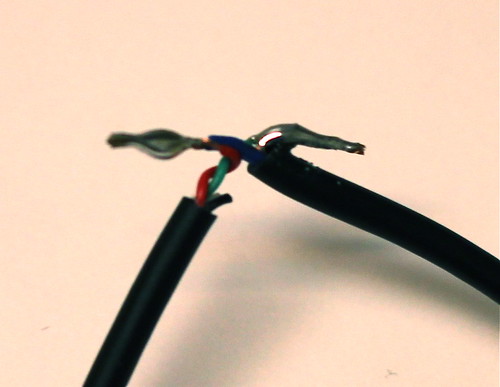
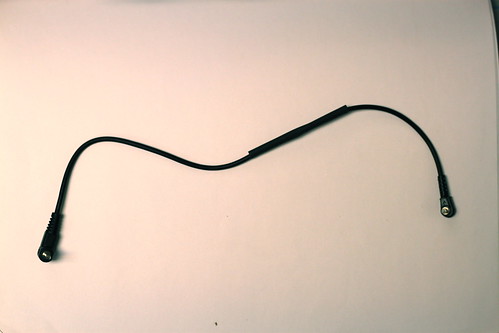
Finally, Saturday’s sessions concluded with Andrew Davidhazy talking about and demonstrating strip camera photography. He modified a Canon AE-1 film camera with the imaging electronics from a small scanner, and created a camera that takes strip photos, also called roll-out photos. Here’s the apparatus:
Here’s a photo Andrew took of me with his DIY strip camera. To make this work, I had to stand on a heavy-duty turntable and slowly rotate, as the camera scanned one line at a time.
Day 3 was Sunday, and it started with a wrap-up session. Here’s Herschel Mair, an incredibly knowledgeable and talented photographer who is currently based in Oman:
After our wrapup session and lunch, we headed into downtown Rochester to visit the George Eastman House, home of George Eastman, who founded Eastman Kodak. Here’s a view along East Avenue, the street that the museum is on:
George Eastman House plaque:
One of the first exhibits in the museum was an overview of historically significant photos and photography equipment. One that struck me was the photo of the flag-raising on Iwo Jima during World War II. I’ve been reading a lot of WWII history over the last few years, so this was especially meaningful.
One of the exhibits I enjoyed the most was “Persistent Shadow”, a showing of photographic negatives through the history of photography. This quote by Ansel Adams sums it up: ” The negative is the equivalent of the composer’s score and the print is the performance”.
It was an interesting experience being immersed in so much film-based photography this weekend, and this exhibit certainly fed into that. I’ve shot strictly digital for so long that the idea of shooting film is almost foreign to me (though I do have a few film-based projects in the concept stage for upcoming 52 things projects).
After the museum, it was time to hit the road again.
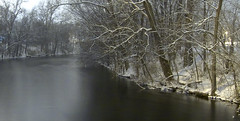
I stopped in Cleveland long enough to snap a few shots of a lovely sunset over Lake Ontario (and gloat about the recent Boston Celtics win over the Cleveland Cavaliers).
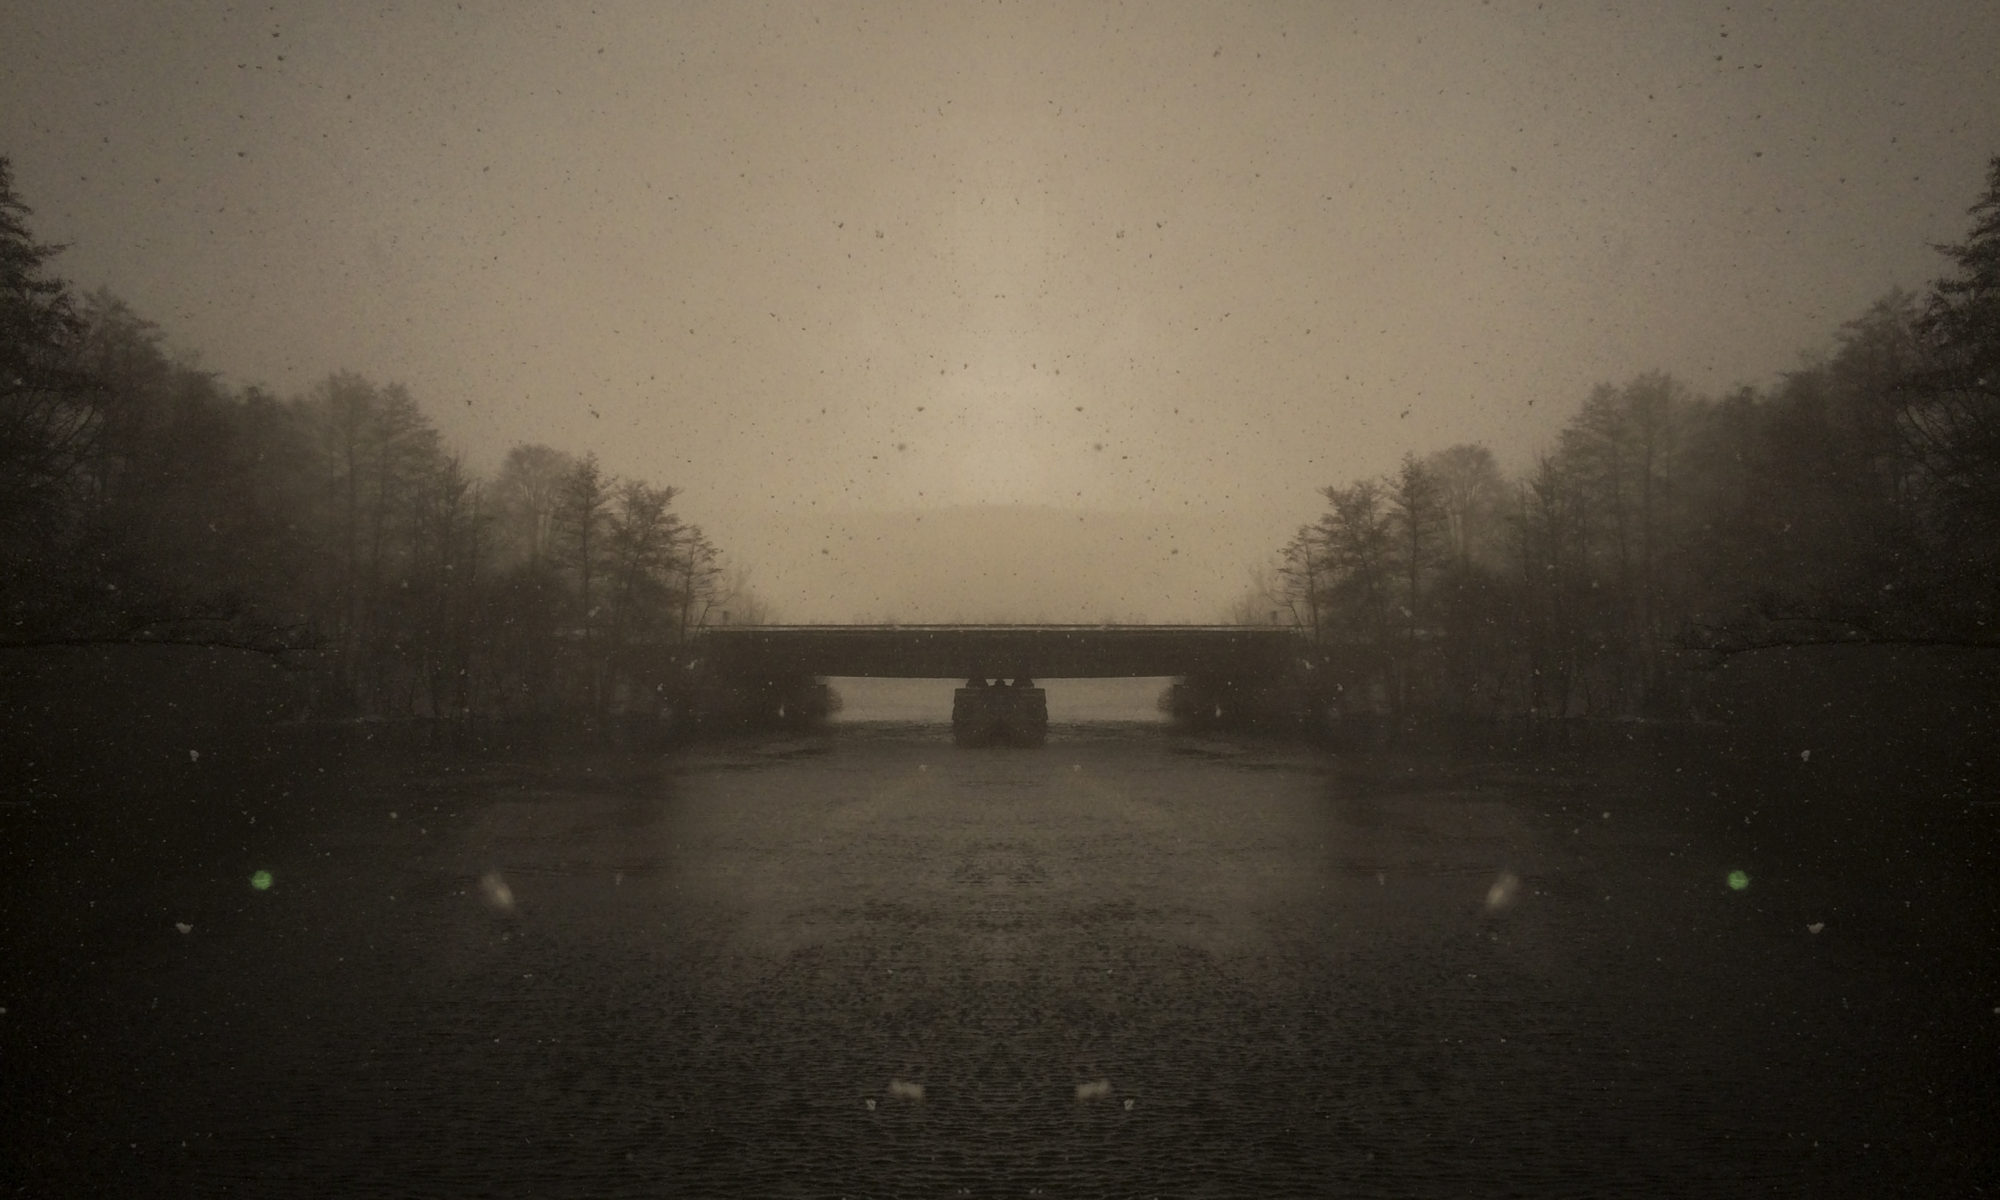
As the sun slowly sunk below the clouds and hills, a beautiful orange light shone across the highway, and I couldn’t resist snapping a few shots as I sped toward home…
20/52: Ann Arbor-Rochester travelogue, part 1
This weekend, I went to Rochester, New York, to attend the 2010 Technology of Applied Photography and Imaging workshop. I drove out on Thursday afternoon, heading from Michigan down through Ohio, then on into Pennsylvania and finally into New York.
Here are a few photos from the trip:
You can see the full set of travel photos at Flickr.
On Friday morning, the workshop began with an introduction and initial session by Andrew Davidhazy. His session focused on using photography as an unconventional measurement tool.
Afternoon sessions discussed digital workflow and macro/microphotography.

This is a cine-mount 16mm lens epoxied to the body cap for a low-cost micro photography lens.
You can see the full set of Day 1 workshop photos at Flickr.
17/52: DIY Vivitar to 2.5mm Sync Cable for CTR-301p
This week’s post is both late (I usually post on Friday) and less complete than I’d hoped. However, here it is: a DIY Vivitar to 2.5mm sync cable for the CTR-301p flash triggers.
I bought a new set of flash triggers several months ago, the Yongnuo CTR-301p. They are a cheap set of triggers, and they ship directly from Hong Kong, which means it takes close to a month to receive them. However, I was originally sent the wrong style of triggers – I need a Canon-specific transmitter, and I was sent a Sony/Minolta version.
After some haggling, I was able to re-order the correct item at a reduced price, and was hoping they would finally arrive this week in time for this 52 things post. Alas, they did not, but I was able to make some progress toward being able to use them as I intend. My main flashes are the Vivitar 285 and 283, both of which are quite old and have a high trigger voltage. I’ve heard conflicting reports about how much voltage the CTR-301p triggers are built to handle – some reports say less than 12V, and some say they’re safe up to 300V. That’s a big difference, and I’d prefer not to fry my new triggers, so I built a DIY Vivitar-to-2.5mm cable instead of using the hotshoe connection.
Here’s a standard Vivitar to PC sync cable. The Vivitar side is a weird, proprietary connector, which is what necessitated making a custom cable.
The CTR-301p comes with this cable – a short 2.5mm to 1/4″ cable, where the 2.5mm side plugs into the CTR-301p receiver.
In order to make this, I basically hacked the ends I didn’t want off both cables, and soldered them both together.
The one somewhat unusual part of making this cable is that the mono 2.5mm cable had 4 wires for some reason – usually this would only have 2 wires. I took a lucky guess that the green wire was ground, and the red wire was hot, and it worked out the first time – the green wire from the 2.5mm cable connected to the bare ground wire from the Vivitar cable, and the red wire from the 2.5mm cable connected to the blue wire from the Vivitar cable.
Once it was done, all that was left was to slide some heatshrink tubing over the whole thing to make it nice and tidy:
Since I don’t have the proper Canon transmitter yet, I wasn’t able to test this on the camera, but luckily the CTR-301p’s transmitter has a manual test button, and it worked properly, popping the flash every time I pushed the test button. Here’s looking forward to getting the correct version soon!
6/52: smoke photos + new DIY collapsible softbox
This week, I worked on two photography projects for 52 things: smoke photos, and a new DIY softbox for one of my flashes.
Part 1: smoke photos
After I made my new macro photo box, I started thinking about projects that it would work well for. I’ve done some water photos before (though none that I really loved), but what captured my imagination this week was the idea of photographing smoke.
I set up the macro box, put my Vivitar 283 flash on a boom stand, set my camera up on the tripod, and got out a stick of incense. After taking a few shots, I soon realized that the pure white background of the macro box was not working at all – the smoke just didn’t show up against the white at all. I then tried a black background – here’s an example:
After not much success with that, I decided to see how others had approached this subject matter, and found an excellent article on the subject:
http://www.sensitivelight.com/smoke2/
I realized that I was letting far too much light from my flash onto the black background, and as a result it was washing it out. I adjusted the box so the flash was completely flagged off from the background. Here’s what it looks like (the lighter is there so I could focus on it – autofocus is useless with smoke, so I used it to set focus, then shifted over slightly so it was out of the frame).
Once I popped a test shot, my jaw dropped.
I shot a number of smoke pictures, and with only a little cleanup in Photoshop, I was completely happy with the results.
View the complete set of smoke photos via Flickr.
Part 2: collapsible DIY softbox for Vivitar 283 flash
I also started thinking about my softbox situation. I made a small DIY softbox for the Vivitar 283 a while back, but it had two distinct disadvantages: it wasn’t very easy to stick in a bag, and the front diffuser material was tissue paper, which is quite delicate. I therefore decided to solve both of those problems with a new, slightly larger softbox that would fold up for transport.
As a technology teacher, I made myself sit down and think about this as a design problem, sketching out some requirements and a 3-view drawing.
Once my design was set, I got out materials and started construction.
It’s not quite done yet, as I have yet to finalize the front diffuser panel, but I have some white shower curtain material that I think is going to work great. Once it’s finished I should be able to use it quite a bit since it will fit in my laptop bag, making it easily portable.
View the complete set of DIY softbox photos via Flickr.
2/52: behind the scenes video, part 1
One thing I’ve learned about myself over the years is that I love teaching and sharing knowledge. This led directly into my chosen profession as a technology educator, and also shows itself in other ways, including making demonstration videos.
I’m really pleased to be able to offer this week’s 52 things project: Part 1 of a 2-part series describing and demonstrating my live electronic music performance rig. Part 2 will be posted as next week’s update.
chromedecay behind the scenes: bill van loo live performance rig, part 1 from chromedecay on Vimeo.
Other work from this week
In addition to making this video available, I’ve also been busy taking photographs this past week. On Monday night, I did a quick session in the chromedecay studio, shooting self-portraits so I’d have a new profile picture for Facebook and other social media sites.
Here’s the self-portrait I ended up deciding upon:

This was shot with a Panasonic Lumix DMC-FZ18, with an external SunPak flash triggered by optical digital slave. I’ll write more about this setup at a later time. Upon reflection (no pun intended), I’d probably add a reflector on the right to fill in some of the shadows on the right side of my face, but I’m well enough pleased for now.
Here’s another shot I liked from that session. It’s cropped to a ultra-widescreen aspect ratio to get rid of the glare from a poster that’s directly above me; light was bouncing back off the acrylic from the poster frame, due to the flash pointing at it, so I cropped it out and got this:

I also took advantage of the winter weather to shoot some outdoor photos. Here are a couple of favorites; these are both long exposures taken at night.

city photos: detroit, chicago
some recent photographic work:
detroit
see the full set on flickr.
chicago
see the full set on flickr.
Dredge, photo 1
There haven’t been any new chromedecay photos on Flickr lately (due to a dead, but soon-to-be-replaced digital camera), but in the interim, enjoy this shot of an abandoned dredge, taken around this time of year in the Upper Peninsula of Michigan in 1996 or 1997. Photo taken by j. schnable.


