This project is one that has been in my “to do” list for well over a year: a servo-powered pan/tilt camera mount!
My intention in making this is to have something that I can use for several purposes. First, it seems like it would work great on my DIY Camera Crane (although I haven’t tried it yet, just having finished the pan/tilt mount today). In addition, I love the idea of being able to put a camera on this and having it either randomly or programatically panning and tilting while I’m doing something else (like playing music).
I was definitely inspired by this build, featured in Make Magazine, Volume 19, entitled “MIDI Camera Control”:
http://www.make-digital.com/make/vol19/?folio=129#pg131
I liked the pre-made brackets they mentioned, but figured I’d try my hand at fabricating my own first, partly to save money and partly because it seemed pretty straightforward.
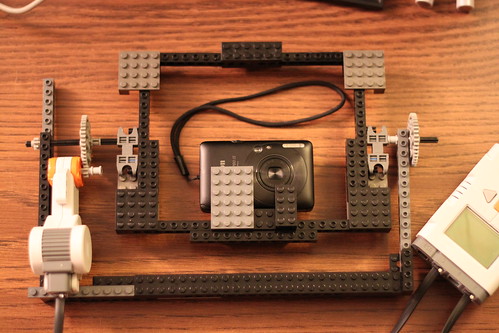
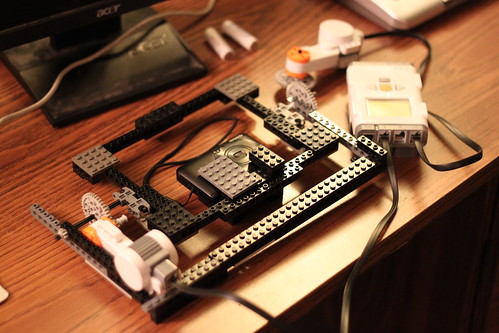
To start out, I decided to build a quick prototype out of Lego, powered by a Lego Mindstorms NXT motor & brick. Because Lego is so easy to work with, I was able to make a quick prototype in an evening:
Once I had that done, it was time to start the real build. I had a couple of servos already, as well as an Arduino board, and my plan was to use the Arduino to control & power the servos. Servos (formally “servomotors”) are small electric motors whose position can be controlled, so they’re perfect for this project.
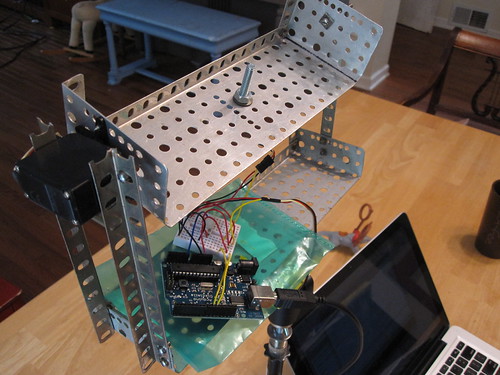
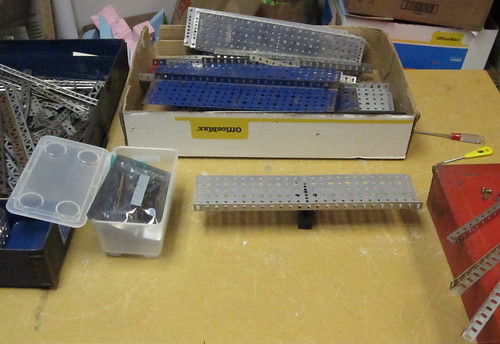
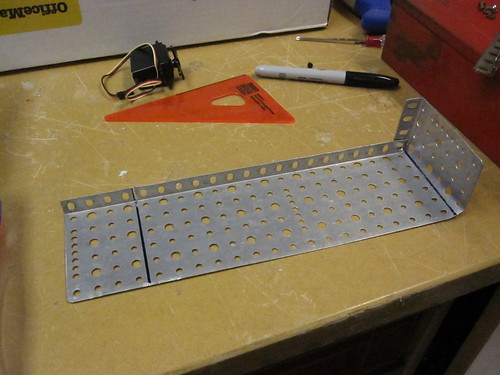
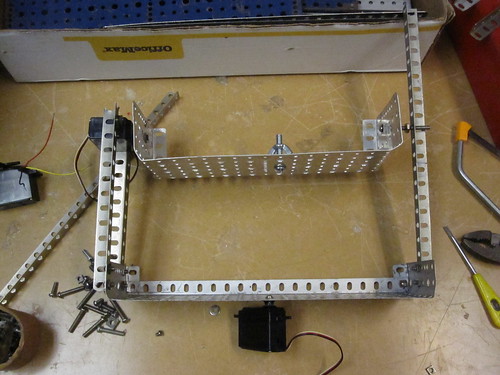
I wasn’t sure what to build the bracket itself out of, but I quickly settled on using Erector, as it bridged the gap nicely between “fast to build with” and “durable enough to support a camera”. The physical build came together pretty smoothly. Here are some photos from that process:
You can see the full set of photos on Flickr.
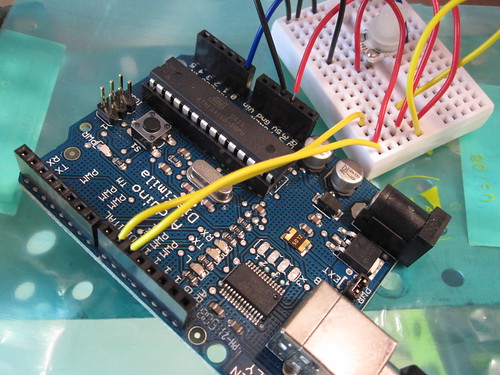
After I’d assembled the bracket and servos, I connected them to the Arduino and started trying to figure out the code to drive them. I’m embarrassed to say that I wasted a day trying to drive the servos from the Arduino’s analog in pins (doh!) instead of the digital output pins. After a few hours down the drain, I gave up and started afresh the next day, and quickly found this helpful video from Make Magazine, which described using servos with the Arduino:
http://www.youtube.com/watch?v=FKj9jJgj8Pc
I got the servos hooked up, and did some quick coding in the Arduino environment, along with building the necessary circuit to hook the servos up to the Arduino itself.
Before too long (and after much consulting of the arduino.cc website, especially this SingleServoExample page), I had the Arduino controlling the servos and moving the camera around!
DIY servo-powered pan/tilt camera mount from chromedecay on Vimeo.
Unfortunately, I had chosen to use continuous servos at first. A continuous servo can spin infinitely in either direction, whereas a standard servo has a limited range. The difference in programming these is that you can tell a standard servo to move from 0 degrees to 180 degrees, where with a continuous servo, you only have control over the speed and direction the motor is turning.
I quickly realized I needed to swap my continuous servos for standard ones, which I luckily had a pair of as well. Once that was done, it became much easier to tell the pan/tilt mount to point in a particular direction.
Unfortunately, I don’t have any video available yet from the updated bracket, as I’ve just finished it. I’ll get some together and update this post once I do. However, I’m quite excited by the progress I made on this project!
My next steps are to get some good controls built and in place for the pan/tilt bracket – either physical controls (like knobs) or computer-based controls, likely built in Processing. That way, I can either manually control it or automate it to pan and tilt while I’m doing other things. Also, the Erector is a bit wobbly, and it would be great to replace it with a bracket made from flat aluminum stock, or something similar. MicroRax might be perfect, but it’s expensive.

